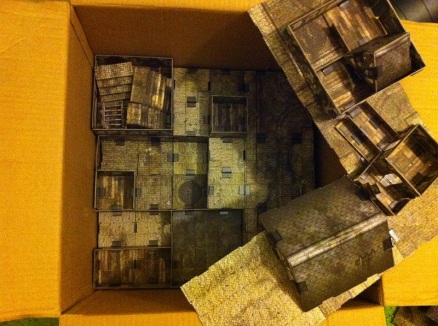
After having pondered about the various possibilities of the Terraclips set, I’ve finally assembled a prototype game board, and decided to share my thoughts on Terraclips and some future do’s and don’t’s I’m going to bring with me, when I decide to remodulate my gaming board.
The hell are you talking about?
If you don’t know what Terraclips is, it’s modular terrain produced by Wyrd & Worldworks games. Basically, it’s a bunch of pre-cut cardboard that you assemble with the aid of plastic clips.
Check out WWG on Youtube if you want to get a better idea of how to assemble stuff and how it can possibly look.
Pre-everything session
So, what I had to work with was: Buildings of Malifaux, Streets of Malifaux and two boxes of clips. First of all, everything had to be punched out, obviously. Besides taking 1-2 hours and sorting them in plastic bags, it really wasn’t any problems at all with this stage. The sheets popped out easily and even the fiddly things like the ladders gave me no issues.
Besides walls, roofs etc, both sets included ladders and stairs. They both require some glue to properly assemble, but I’m guessing most hobbyists buying the sets have some lying around. My one issue was with the ladders. The hole where the ladder ladder stairs are suppose to slot in was really tight in with a few of the ladders and I even ended up breaking one of them in the rage-filled process.
First session – The weird house
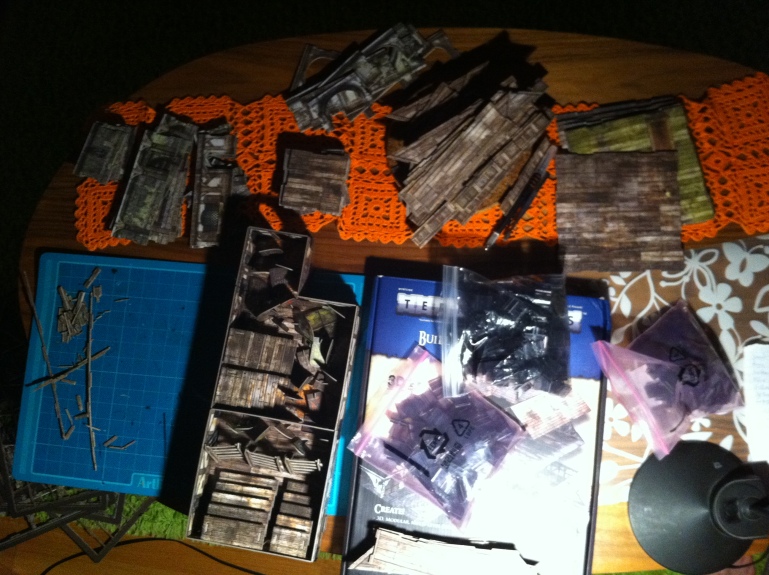
So, like most people I just wanted to get stuck in with my new toys! I picked up a few floor pieces and began experimenting. As inspiring as it was, it turned out to be a pretty weird contraption. Anyways, my number one tip when starting to build is to just build something weird – try the different parts out and experiment your heart out. Spent about 1-2 hours with the first building.
Second session – The slightly more calculated Guard station
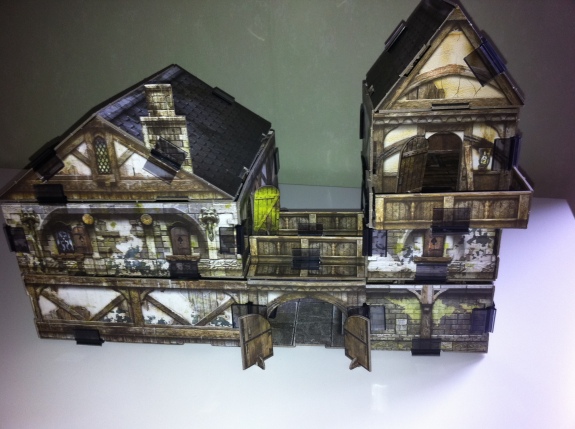
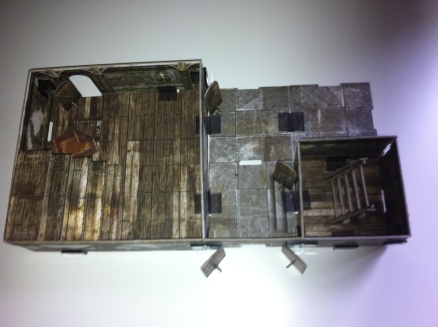
Second build, I at least had an idea.
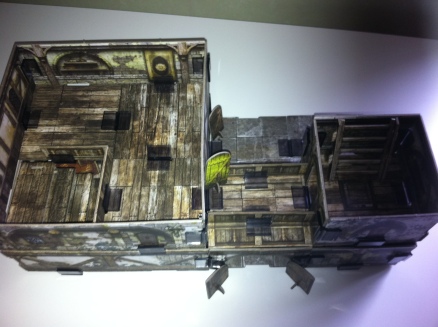
I wanted to make some sort of guard station, like a customs post dividing the richer parts of the city from the lowly low parts. So, a multifloored building with an extra lil’ guard tower on the side.
About now I realized the importance of “smart clipping”, or how it actually adds when there’s less clips. First and foremost you save your precious clips, second it looks better most of the time, if it’s not cluttered with clips. This does bring me to the point of the obtrusivity (?) of the clips themselves: Yes, they’re there and it’s not particularly handsome to look at, but you learn to not be bothered by it the more you fiddle about with it. I’m not seeing how it will be a problem when playing, and even though it might not look Diorama-good, it still looks damn fine if you’re executing it properly.


Third session – The big, bad motherflippin’ table
After I felt confident about my house building skills, I figured I might as well give a gaming board a go. There’s two interlocking recommendations I have to offer regarding this:
- Plan! Lay everything out before you start clipping, else you’ll just end up frustrated and having go back. It’s infinitely much easier to just move a loose board than to unclip and risk wearing it and such. Also, it makes laying down roads a breeze in comparison.
- Don’t build separate ultra-mega-super-intricate houses before having a complete lay-out of your board. It’s very easy to build very cool buildings, but equally infuriating when you notice that they just don’t “fit” the rest of the board for some reason
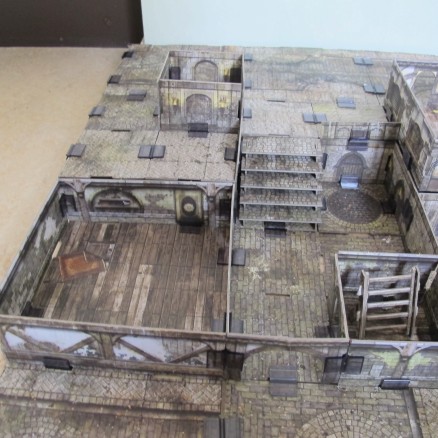
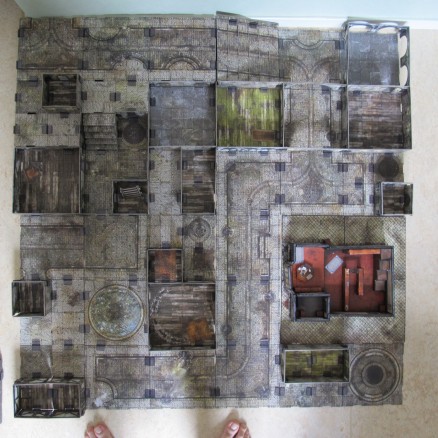
I decided to go small with the different vertical layers this first time, since I wasn’t all sure about the resources available. I’ve more or less concluded that two sets (one buildings and one streets, or two sewers, I guess) is pretty much enough for a basic 3’x3′ board. If you want it at least moderately populated you won’t be doing any multi-floored wonders, but it’s enough for a very cool and modular gaming board!
Do note that I’ve not had time nor energy to get to all the roofing yet… In due time!



Now with sexy toes
There!
Posted in Terraclips, Terrain
|
Tagged malifaux, terraclips
|


